import os
import urllib.request

# Create the folder "data" when the folder "data" does not exist.
# フォルダ「data」が存在しない場合はフォルダ data を作成します。
data_dir = "./data/"
if not os.path.exists(data_dir):
    os.mkdir(data_dir)

# Download class_index for ImageNet.
# It is prepared for Keras. This is the JSON file used by the following open source.
# ImageNetのclass_indexをダウンロードします。
# Kerasで用意されているものです。下記オープンソースで使用している JSON ファイルです。
# https://github.com/fchollet/deep-learning-models/blob/master/imagenet_utils.py
url = "https://s3.amazonaws.com/deep-learning-models/image-models/imagenet_class_index.json"
save_path = os.path.join(data_dir, "imagenet_class_index.json")

if not os.path.exists(save_path):
    urllib.request.urlretrieve(url, save_path)
そしてこのプログラムを実行すると、作業フォルダ中に data フォルダを作成してその中に "imagenet_class_index.json"
というファイルを作成して保存してくれます。 このファイルは画像分類で使用する 1000種類 のラベル情報です。
# Create an instance of the VGG16 model
self.net = models.vgg16( pretrained = True )
self.net.eval() # Set to evaluation mode.
# Display network-model.
print(self.net)
class BaseTransform():
'''
Pre-process the input image. Image resizing, color standardization, etc.
入力画像の前処理を行う。画像のリサイズ、色の標準化など。
'''
def __init__(self, resize, mean, std):
self.base_transform = transforms.Compose([
transforms.Resize((resize, resize)), # Resize both long and short sides to the size of resize.
#transforms.Resize(resize), # Resize the short edge length to the size of resize while preserving the aspect
#transforms.CenterCrop(resize), # Crop the center of the image with resize × resize.
transforms.ToTensor(), # Convert to Torch-Tensor.
transforms.Normalize(mean, std) # color standardization
])
def __call__(self, img):
'''
Perform pre-process the input image.
'''
return self.base_transform(img)
class ILSVRCPredictor():
'''
Get the label name with the highest score from the calculation result.
演算結果から最もスコアの高いラベル名を取得する。
'''
def __init__(self, class_index):
'''
Constructor
Args:
class_index [i] class index.
'''
self.class_index = class_index
def predict_max(self, out):
'''
Get the label name with the highest score from the calculation result.
最もスコアの高いラベル名を取得する。
'''
data = out.detach().numpy()
probabilities = torch.nn.functional.softmax(out, dim=1)[0]
maxid = np.argmax(data)
score = probabilities[maxid].item()
predicted_label_name = self.class_index[str(maxid)][1]
return predicted_label_name, score
5.
画像分類を行う本体のクラスを作成します。
class ImagenetClassificationVgg():
'''
Image classification.
画像分類を行う。
'''
def __init__(self, class_index_file):
'''
Constructor
Args:
class_index_file: [i] class index file path.
'''
# PyTorch version.
print("PyTorch Version: ", torch.__version__)
print("Torchvision Version: ", torchvision.__version__)
# Load a trained VGG-16 model.
# The first time you run it, it will take a long time to run because it will download the trained parameters.
# 学習済みの VGG-16 モデルをロードする。
# 初めて実行する際は、学習済みパラメータをダウンロードするため、実行に時間がかかります。
# Create an instance of the VGG16 model
self.net = models.vgg16( pretrained = True )
self.net.eval() # Set to evaluation mode.
# Display network-model.
print(self.net)
# Create an instance of preprocessing.
resize = 224
mean = (0.485, 0.456, 0.406)
std = (0.229, 0.224, 0.225)
self.transform = BaseTransform(resize, mean, std)
# Load ILSVRC label information and create an ILSVRCPredictor instance.
self.ILSVRC_class_index = json.load( open(class_index_file, 'r') )
self.predictor = ILSVRCPredictor(self.ILSVRC_class_index)
def imagenet_classification_vgg(self, img, debug=False):
'''
Perform image classification.
Args:
img: [i] An image for image classification. PIL.Image format.
debug: [i] if set to True, display debug images.
Returns:
results: Results of image classification.
'''
if debug==True:
# View original image.
plt.imshow(img)
plt.show()
# Preprocessing.
img_transformed = self.transform(img) # torch.Size([3, 224, 224])
if debug==True:
# Display the image after preprocessing.
img_transformed_2 = img_transformed.numpy().transpose((1, 2, 0))
img_transformed_2 = np.clip(img_transformed_2, 0, 1)
plt.imshow(img_transformed_2)
plt.show()
# Added batch size dimension.
inputs = img_transformed.unsqueeze_(0) # torch.Size([1, 3, 224, 224])
# ネットワークモデルへ画像を入力し、出力をラベルに変換
out = self.net(inputs) # torch.Size([1, 1000])
result = self.predictor.predict_max(out)
return result
'''
[Abstract]
Image classification.
画像分類を行います。
[Details]
This program classifies still images (JPEG files).
静止画(JPEG files)の画像分類を行います。
[Library install]
torch, torchvision : see https://pytorch.org/get-started/locally/
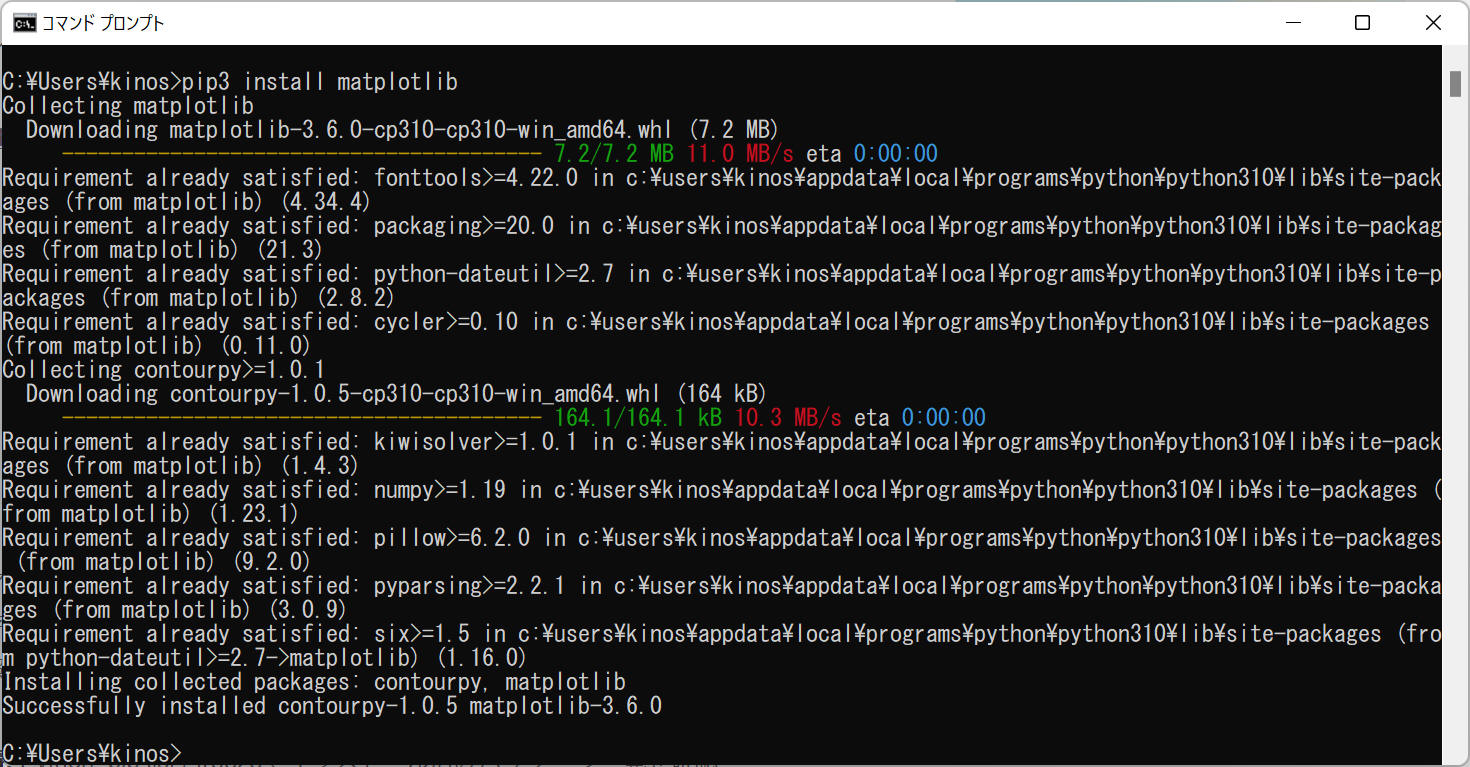
matplotlib : pip install matplotlib
numpy : pip install numpy
PIL : pip install pillow
json : json is a built-in module in Python, you don’t need to install it with pip.
[Note]
Download the JPEG file yourself and save it in the data folder. See main function.
JPEGファイルはご自身でダウンロードして data フォルダに保存を行ってください。main 関数内の記載をご確認ください。
'''
import numpy as np
import json
from PIL import Image
import matplotlib.pyplot as plt

import torch
import torchvision
from torchvision import models, transforms
class BaseTransform():
'''
Pre-process the input image. Image resizing, color standardization, etc.
入力画像の前処理を行う。画像のリサイズ、色の標準化など。
'''
def __init__(self, resize, mean, std):
self.base_transform = transforms.Compose([
transforms.Resize((resize, resize)), # Resize both long and short sides to the size of resize.
transforms.ToTensor(), # Convert to Torch-Tensor.
transforms.Normalize(mean, std) # color standardization
])
def __call__(self, img):
'''
Perform pre-process the input image.
'''
return self.base_transform(img)
class ILSVRCPredictor():
'''
Get the label name with the highest score from the calculation result.
演算結果から最もスコアの高いラベル名を取得する。
'''
def __init__(self, class_index):
'''
Constructor
Args:
class_index [i] class index.
'''
self.class_index = class_index
def predict_max(self, out):
'''
Get the label name with the highest score from the calculation result.
最もスコアの高いラベル名を取得する。
'''
data = out.detach().numpy()
probabilities = torch.nn.functional.softmax(out, dim=1)[0]
maxid = np.argmax(data)
score = probabilities[maxid].item()
predicted_label_name = self.class_index[str(maxid)][1]
return predicted_label_name, score
class ImagenetClassificationVgg():
'''
Image classification.
画像分類を行う。
'''
def __init__(self, class_index_file):
'''
Constructor
Args:
class_index_file: [i] class index file path.
'''
# PyTorch version.
print("PyTorch Version: ", torch.__version__)
print("Torchvision Version: ", torchvision.__version__)
# Load a trained VGG-16 model.
# The first time you run it, it will take a long time to run because it will download the trained parameters.
# 学習済みの VGG-16 モデルをロードする。
# 初めて実行する際は、学習済みパラメータをダウンロードするため、実行に時間がかかります。
        # Create an instance of the VGG16 model
        self.net = models.vgg16( pretrained = True )
        self.net.eval()             # Set to evaluation mode.

        # Display network-model.
        print(self.net)
        # Create an instance of preprocessing.
        resize = 224
        mean = (0.485, 0.456, 0.406)
        std = (0.229, 0.224, 0.225)
        self.transform = BaseTransform(resize, mean, std)
# Load ILSVRC label information and create an ILSVRCPredictor instance.
self.ILSVRC_class_index = json.load( open(class_index_file, 'r') )
self.predictor = ILSVRCPredictor(self.ILSVRC_class_index)
def do_classification(self, img, debug=False):
'''
Perform image classification.
Args:
img: [i] An image for image classification. PIL.Image format.
debug: [i] if set to True, display debug images.
Returns:
results: Results of image classification.
'''
if debug==True:
# View original image.
plt.imshow(img)
plt.show()
# Preprocessing.
img_transformed = self.transform(img) # torch.Size([3, 224, 224])
if debug==True:
# Display the image after preprocessing.
img_transformed_2 = img_transformed.numpy().transpose((1, 2, 0))
img_transformed_2 = np.clip(img_transformed_2, 0, 1)
plt.imshow(img_transformed_2)
plt.show()
# Added batch size dimension.
inputs = img_transformed.unsqueeze_(0) # torch.Size([1, 3, 224, 224])
# Input images to the network model and convert the output to labels.
out = self.net(inputs) # torch.Size([1, 1000])
result = self.predictor.predict_max(out)
return result
if __name__ == "__main__":
'''
main
'''
imagenetClassifigationVgg = ImagenetClassificationVgg('./data/imagenet_class_index.json')
# Open image file.
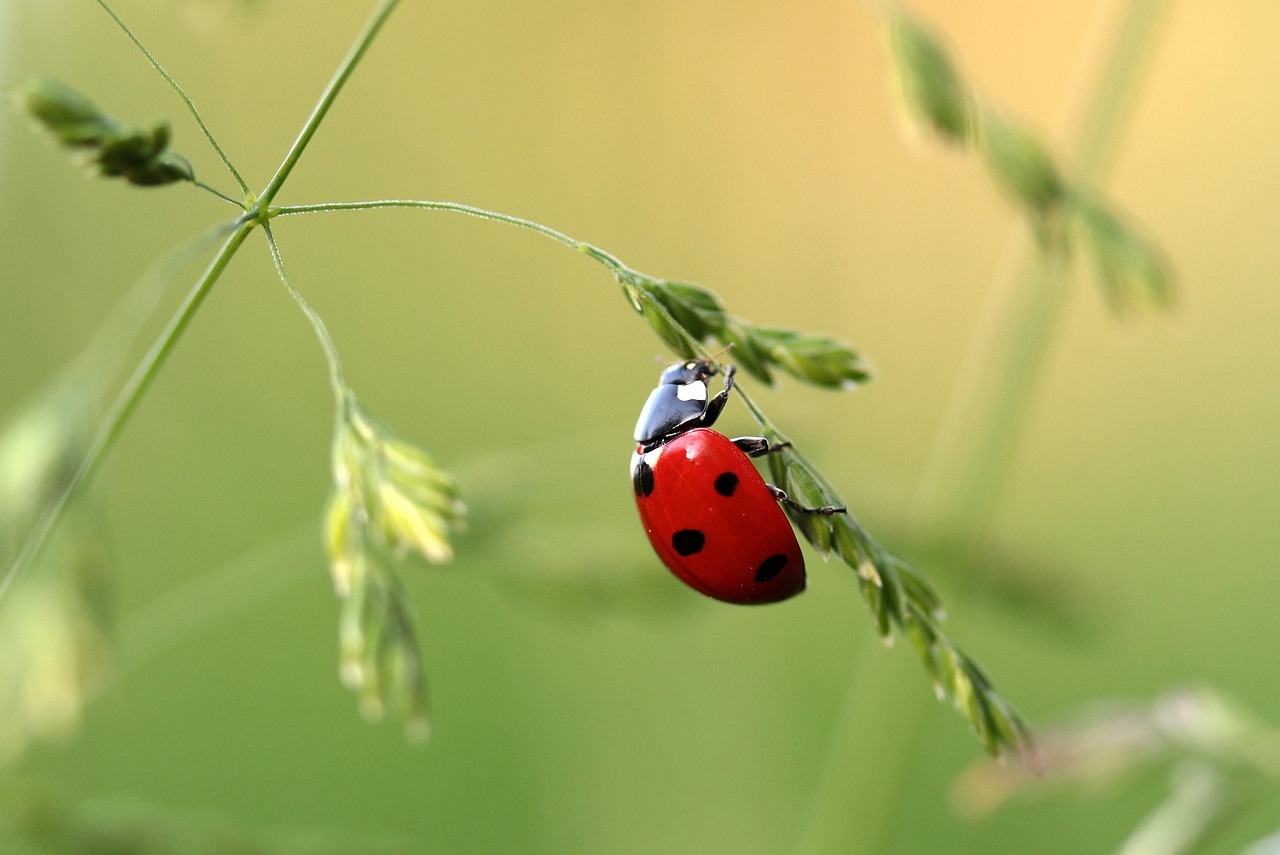
# https://pixabay.com/ja/photos/%e3%81%a6%e3%82%93%e3%81%a8%e3%81%86%e8%99%ab-%e7%94%b2%e8%99%ab-%e3%83%86%e3%83%b3%e3%83%88%e3%82%a6%e3%83%a0%e3%82%b7-1480102/
# https://pixabay.com/ja/service/license/
# Free for commercial use, no attribution required, 1280x855
# 商用利用無料、帰属表示必要なし、1280x855
img = Image.open('./data/ladybug-g7744c038e_1280.jpg')
result = imagenetClassifigationVgg.do_classification(img)
print("Result: ", result)
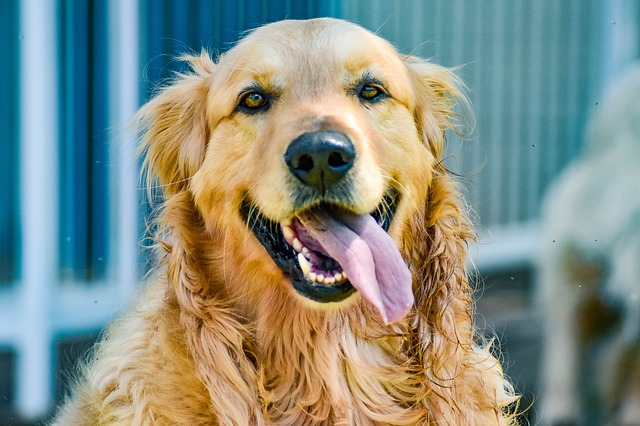
# https://pixabay.com/ja/photos/goldenretriever-%E7%8A%AC-3724972/
# https://pixabay.com/ja/service/license/
# Free for commercial use, no attribution required, 640x426
# 商用利用無料、帰属表示必要なし、640x426
img = Image.open('./data/goldenretriever-3724972_640.jpg')
result = imagenetClassifigationVgg.do_classification(img)
print("Result: ", result)
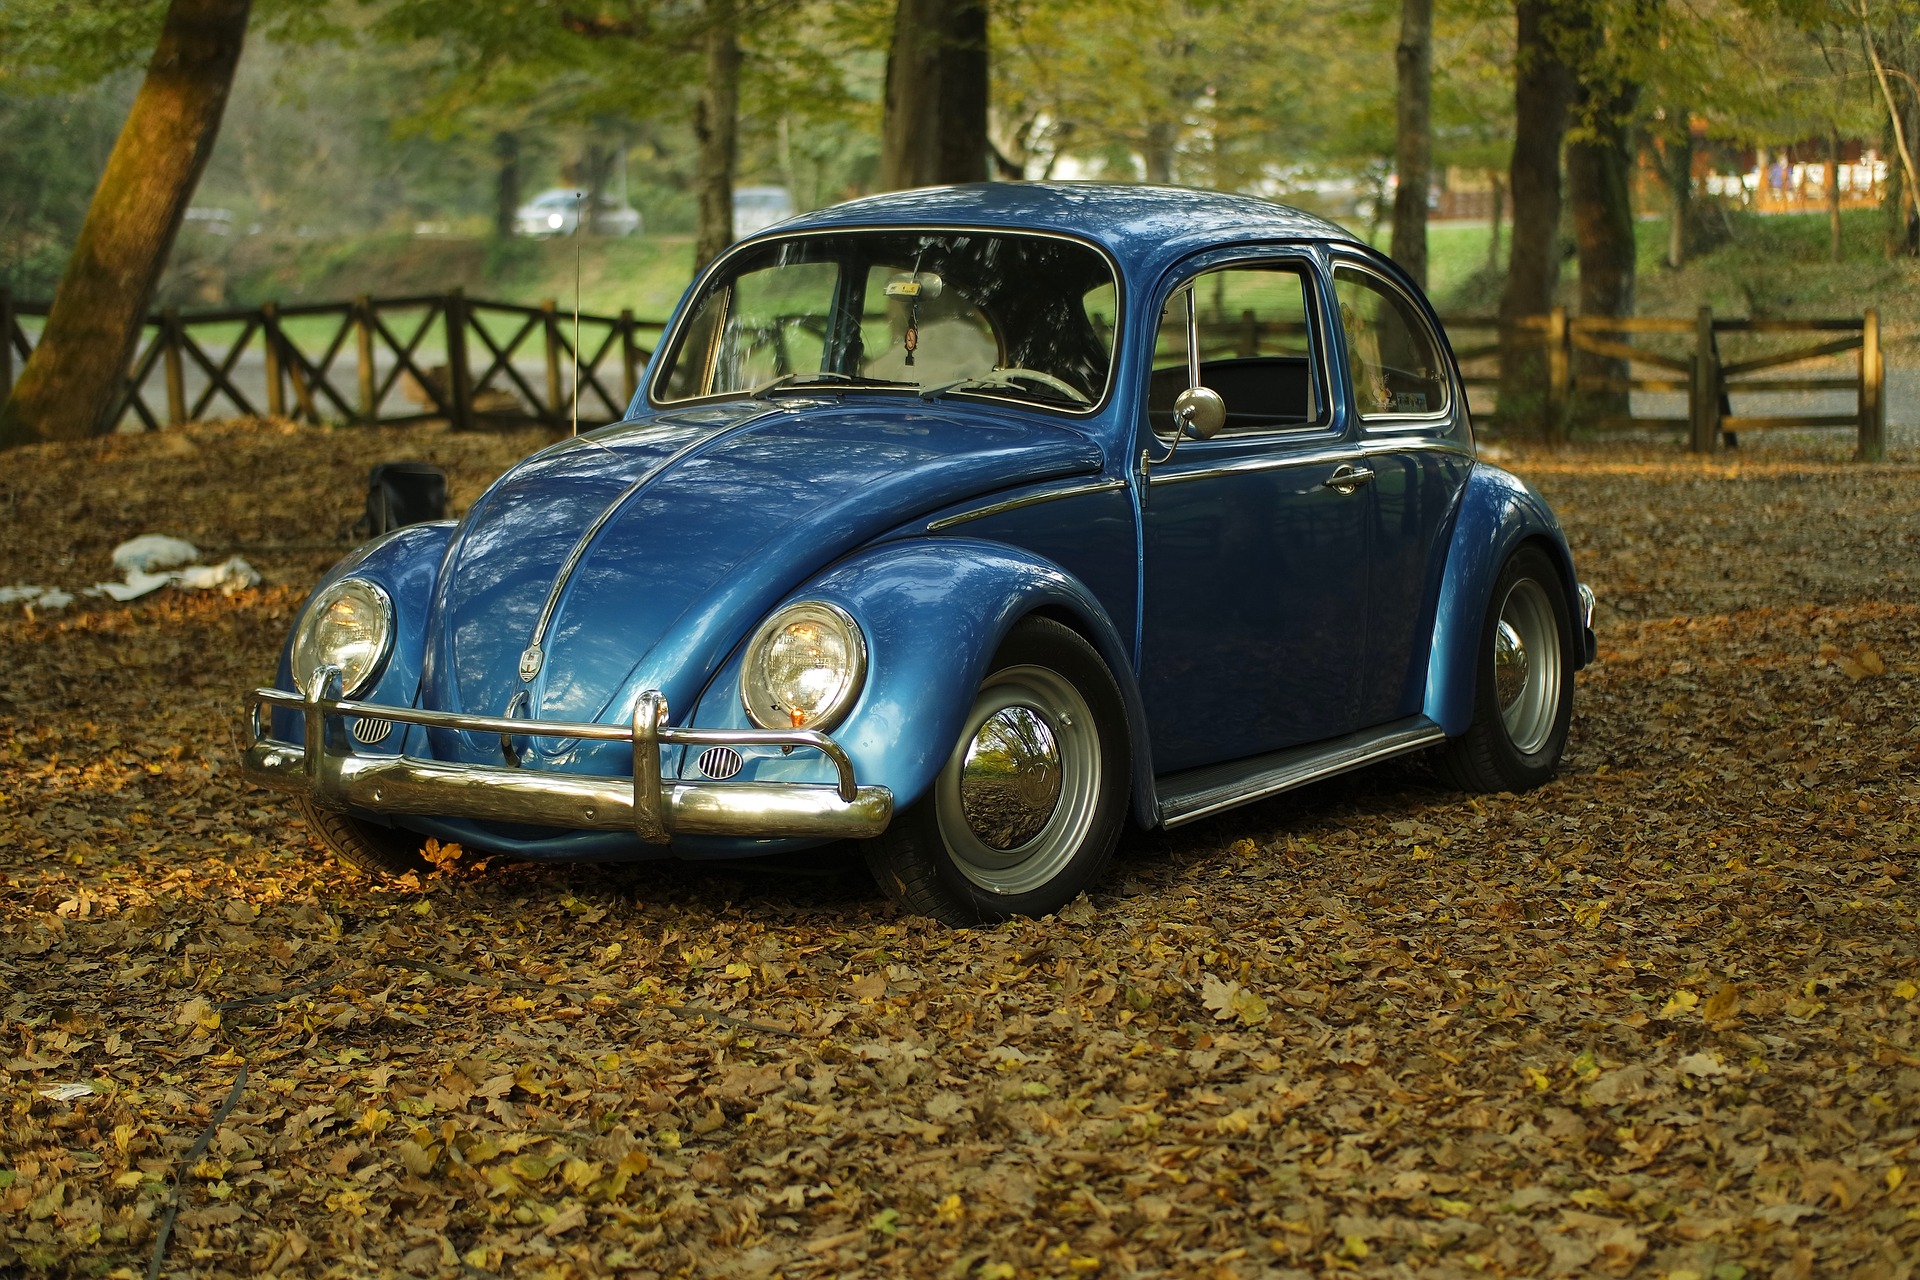
# https://pixabay.com/ja/photos/%e8%bb%8a-%e7%94%b2%e8%99%ab-%e3%83%95%e3%82%a9%e3%83%ab%e3%82%af%e3%82%b9%e3%83%af%e3%83%bc%e3%82%b2%e3%83%b3-1283947/
# https://pixabay.com/ja/service/license/
# Free for commercial use, no attribution required, 1920x1280
# 商用利用無料、帰属表示必要なし、1920x1280
img = Image.open('./data/car-g955f2640f_1920.jpg')
result = imagenetClassifigationVgg.do_classification(img)
print("Result: ", result)
# https://pixabay.com/ja/photos/%e3%83%9e%e3%83%bc%e3%82%ac%e3%83%ac%e3%83%83%e3%83%88-%e3%83%87%e3%82%a4%e3%82%b8%e3%83%bc-%e8%8a%b1-729510/
# https://pixabay.com/ja/service/license/
# Free for commercial use, no attribution required, 1920x1249
# 商用利用無料、帰属表示必要なし、1920x1249
img = Image.open('./data/marguerite-gfad1f1cea_1920.jpg')
result = imagenetClassifigationVgg.do_classification(img)
print("Result: ", result)
'''
[Abstract]
Image classification.
画像分類を行います。
[Details]
This program connects to an i-PRO camera and classifies live images.
このプログラムは、i-PRO カメラと接続してライブ映像に対して画像分類を行います。
[Library install]
torch, torchvision : see https://pytorch.org/get-started/locally/
cv2 : pip install opencv-python
matplotlib : pip install matplotlib
numpy : pip install numpy
PIL : pip install pillow
json : Built-in module in Python, you don’t need to install it with pip.
'''
import cv2
from PIL import Imagefrom classification_vgg import ImagenetClassificationVgg # Local module. See 'classification_vgg.py'.
user_id = "user-id" # Change to match your camera setting
user_pw = "password" # Change to match your camera setting
host = "192.168.0.10" # Change to match your camera setting
winname = "VIDEO" # Window title
# Exception definition.
BackendError = type('BackendError', (Exception,), {})
def IsWindowVisible(winname):
'''
Check if the target window exists.
Args:
winname : Window title.
Returns:
True : Exist.
False : Not exist.
Raise:
BackendError :
'''
try:
ret = cv2.getWindowProperty(winname, cv2.WND_PROP_VISIBLE)
if ret == -1:
raise BackendError('Use Qt as backend to check whether window is visible or not.')
return bool(ret)
except cv2.error:
return False
def CV2Pil(image): ''' Convert from OpenCV to PIL.Image Params: image: OpenCV image. Returns: PIL.Image format image. ''' new_image = image.copy() if new_image.ndim == 2: # Grayscale pass elif new_image.shape[2] == 3: # Color new_image = cv2.cvtColor(new_image, cv2.COLOR_BGR2RGB) elif new_image.shape[2] == 4: # Color with alpha channel new_image = cv2.cvtColor(new_image, cv2.COLOR_BGRA2RGBA) new_image = Image.fromarray(new_image) return new_image
'''
[Abstract]
main 関数
'''
if __name__ == '__main__':
# Create an instance of class ImagenetClassificationVgg.
imagenetClassifigationVgg = ImagenetClassificationVgg('./data/imagenet_class_index.json')
# Create an instance of class cv2.VideoCapture
cap = cv2.VideoCapture(f"rtsp://{user_id}:{user_pw}@{host}/MediaInput/stream_1")
#
windowInitialized = False
while True:
try:
ret, frame = cap.read()
if ret == True:
# Image classification
pilImage = CV2Pil(frame)
result, score = imagenetClassifigationVgg.do_classification(pilImage)
if score > 0.15:
print(result, score)
else:
print('None')
# Resize to a display size that fits on your PC screen.
width = 640
height = 480
h, w = frame.shape[:2]
aspect = w / h
if width / height >= aspect:
nh = height
nw = round(nh * aspect)
else:
nw = width
nh = round(nw / aspect)
frame2 = cv2.resize(frame, (nw, nh))
# Display image.
cv2.imshow(winname, frame2)
if windowInitialized==False:
# Specify the display position only at the beginning.
cv2.moveWindow(winname, 100, 100)
windowInitialized = True
# Press the "q" key to finish.
k = cv2.waitKey(1) & 0xff # necessary to display the video by imshow ()
if k == ord("q"):
break
# Exit if there is no specified window.
if not IsWindowVisible(winname):
break
except KeyboardInterrupt:
# Press '[ctrl] + [c]' on the console to exit the program.
print("KeyboardInterrupt")
break
print("Finish main()")
cap.release()
cv2.destroyAllWindows()
'''
[Abstract]
Image classification.
画像分類を行います。
[Details]
This program connects to an i-PRO camera and classifies live images with multitasking.
このプログラムは、i-PRO カメラと接続してライブ映像に対してマルチタスク処理で画像分類を行います。
[Library install]
torch, torchvision : see https://pytorch.org/get-started/locally/
cv2 : pip install opencv-python
matplotlib : pip install matplotlib
numpy : pip install numpy
PIL : pip install pillow
json, multiprocessing, queue :
Built-in module in Python, you don’t need to install it with pip.
'''
import cv2
import multiprocessing as mpfrom queue import Empty
from PIL import Image
from classification_vgg import ImagenetClassificationVgg # Local module. See 'classification_vgg.py'.
user_id = "user-id" # Change to match your camera setting
user_pw = "password" # Change to match your camera setting
host = "192.168.0.10" # Change to match your camera setting
winname = "VIDEO" # Window title
# Exception definition.
BackendError = type('BackendError', (Exception,), {})
def IsWindowVisible(winname):
'''
Check if the target window exists.
Args:
winname : Window title.
Returns:
True : Exist.
False : Not exist.
Raise:
BackendError :
'''
try:
ret = cv2.getWindowProperty(winname, cv2.WND_PROP_VISIBLE)
if ret == -1:
raise BackendError('Use Qt as backend to check whether window is visible or not.')
return bool(ret)
except cv2.error:
return False
def CV2Pil(image):
'''
Convert from OpenCV to PIL.Image
Params:
image: OpenCV image.
Returns:
PIL.Image format image.
'''
new_image = image.copy()
if new_image.ndim == 2: # Grayscale
pass
elif new_image.shape[2] == 3: # Color
new_image = cv2.cvtColor(new_image, cv2.COLOR_BGR2RGB)
elif new_image.shape[2] == 4: # Color with alpha channel
new_image = cv2.cvtColor(new_image, cv2.COLOR_BGRA2RGBA)
new_image = Image.fromarray(new_image)
return new_image
def ImageClassificationProcess(q): ''' Image classification process. Args: q1 : [i] Queue that stores images for face detection. q2 : [o] Queue that stores face detection results. Returns: None ''' # Create an instance of class ImagenetClassificationVgg. imagenetClassifigationVgg = ImagenetClassificationVgg('./data/imagenet_class_index.json') while True: try: image = q.get(True, 10) # Terminate process if type(image) == int: if image == -1: break # Image classification pilImage = CV2Pil(image) result, score = imagenetClassifigationVgg.do_classification(pilImage) if score > 0.15: print(result, score) else: print('None') except Empty: # timeout of q1.get() print("Timeout happen.(3)") print("Finish ImageClassificationProcess()")
'''
[Abstract]
__main__
'''
if __name__ == '__main__':
# Create an instance of class cv2.VideoCapture
cap = cv2.VideoCapture(f"rtsp://{user_id}:{user_pw}@{host}/MediaInput/stream_1")
#
windowInitialized = False
# Create and start image classification process. q = mp.Queue() p = mp.Process(target=ImageClassificationProcess, args=(q,)) p.start()
while True:
try:
ret, frame = cap.read()
if ret == True:
#
if (q.qsize() <= 1):
q.put(frame)
# Resize to a display size that fits on your PC screen.
width = 640
height = 480
h, w = frame.shape[:2]
aspect = w / h
if width / height >= aspect:
nh = height
nw = round(nh * aspect)
else:
nw = width
nh = round(nw / aspect)
frame2 = cv2.resize(frame, (nw, nh))
# Display image.
cv2.imshow(winname, frame2)
if windowInitialized==False:
# Specify the display position only at the beginning.
cv2.moveWindow(winname, 100, 100)
windowInitialized = True
# Press the "q" key to finish.
k = cv2.waitKey(1) & 0xff # necessary to display the video by imshow ()
if k == ord("q"):
break
# Exit if there is no specified window.
if not IsWindowVisible(winname):
break
except KeyboardInterrupt:
# Press '[ctrl] + [c]' on the console to exit the program.
print("KeyboardInterrupt")
break
# Terminate process p q.put(-1) # Waiting for process p to finish p.join()
print("Finish main()")
cap.release()
cv2.destroyAllWindows()
[動画] i-PRO カメラと接続して、リアルタイムに画像分類
CPU 版の PyTorch での動作ですが、十分に高速な処理をしてくれているように私は感じました。 GPU
版を使うともっと素敵なパフォーマンスで動作することと思いますが、この画像分類についてはこれでもいろいろと活用できるのではないでしょうか。
映像表示に極力影響を与えないように、映像受信プロセス(ReceiveImageProcess)から画像分類プロセス(ImageClassificationProcess)へ画像データを渡し、別プロセスで画像分類を行っています。そして認識した結果のラベルとスコアを
main プロセスへ渡して画面へ表示する、というようなデータの流れで作成しています。
Licensed under the Apache License, Version
2.0 (the "License"); you may not use this file except in compliance with
the License. You may obtain a copy of the License at
Unless required by
applicable law or agreed to in writing, software distributed under the
License is distributed on an "AS IS" BASIS, WITHOUT WARRANTIES OR
CONDITIONS OF ANY KIND, either express or implied. See the License for
the specific language governing permissions and limitations under the
License.